FreeBSD on My Last Windows Laptop
I had one Windows machine left, and it wasn’t there because I liked Windows. It was there for my Brother scanner.
Once or twice a year, when a pile of paper needed scanning, I would dig out the old ThinkPad, boot into Windows, relearn Brother’s app, scan a few documents, and put the laptop away again. I was keeping an entire operating system alive for one scanner.
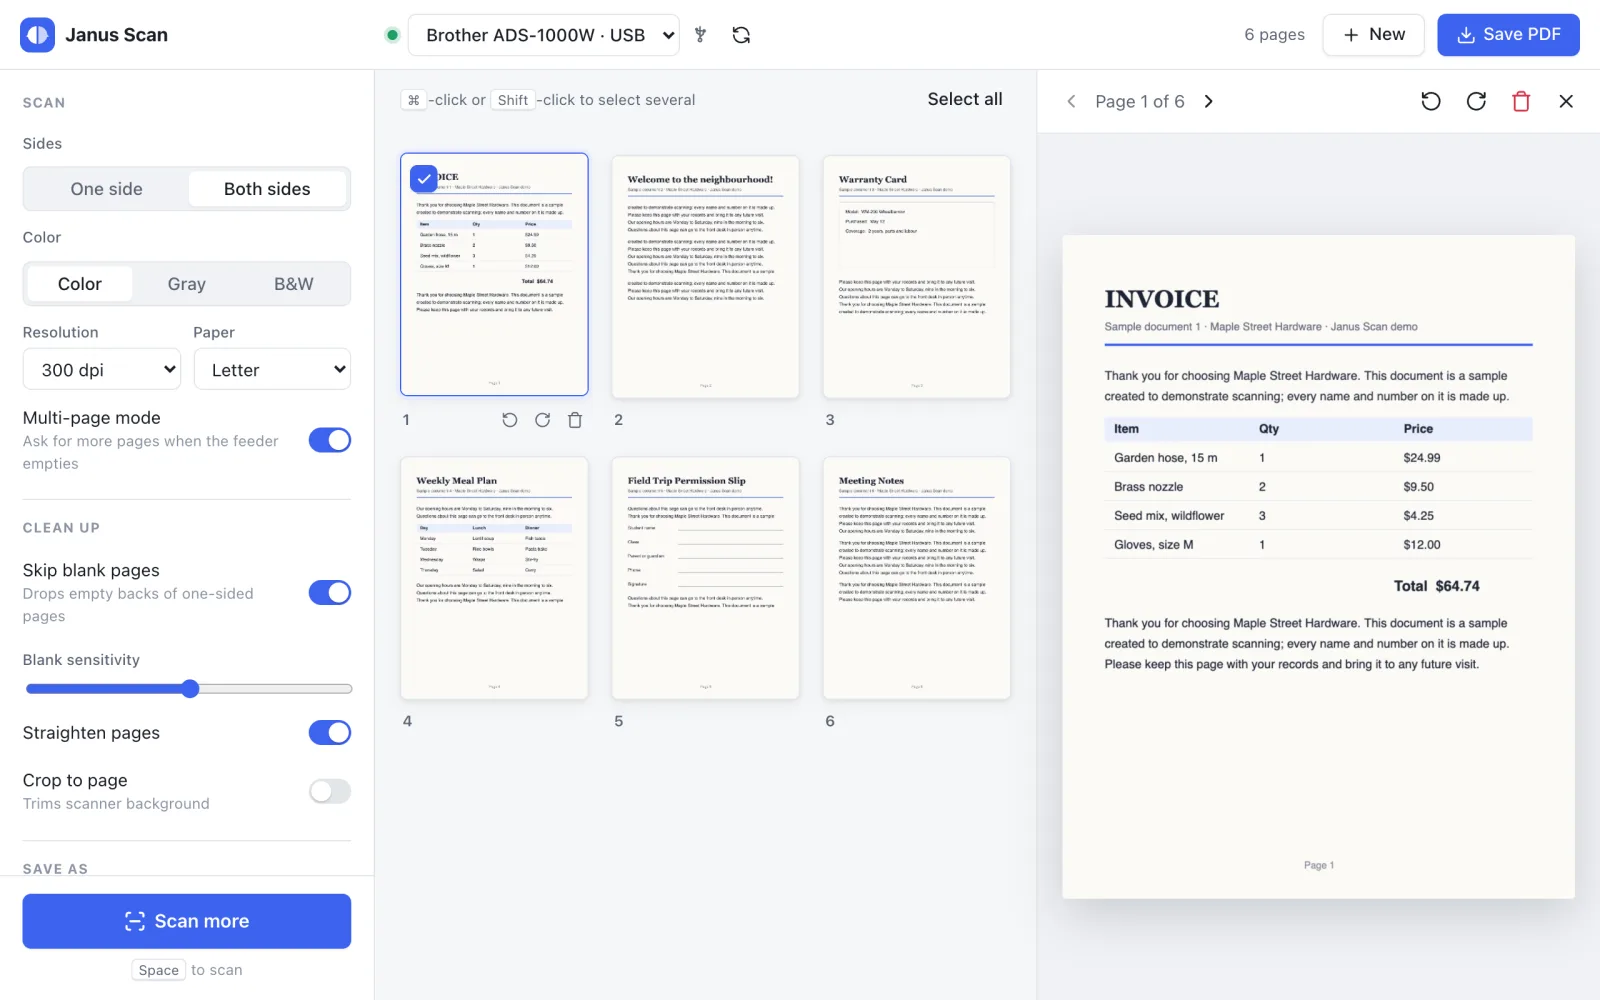
That ended when I built Janus Scan, my own scanning app. The scanner now works from Linux, macOS and my phone, which left Windows with nothing to do.
That freed up the laptop, and I was glad to have it back. It’s a 2011 ThinkPad X220, and I love it. I also have an X230 running Linux, but the X220’s keyboard is the one that makes me want to sit down and type. For years, Windows had it tied up as a scanner station. Now it could become a laptop I actually use.
So I decided to give FreeBSD 15.1 a try.
A second attempt, with help
I tried to install FreeBSD years ago and gave up. There were too many unknowns and too much documentation to dig through.
This time I had ChatGPT. I described what I wanted, a lightweight desktop that could handle YouTube and LinkedIn Learning, and followed its lead. It made the decisions: install options, filesystem, desktop, drivers, browser fixes. I typed the commands on the laptop, pasted back the output, and asked questions whenever something didn’t make sense.
So I can’t take credit for the choices in this post. What I can share is how it went and what I learned along the way.
Installing FreeBSD
I wrote the FreeBSD 15.1 DVD image from the official downloads to a USB stick and booted the X220 from it with F12. If you do the same, replace /dev/sdX with your USB device and check it twice, because this wipes the drive:
sudo dd if=FreeBSD-15.1-RELEASE-amd64-dvd1.iso \
  of=/dev/sdX bs=4M status=progress conv=fsync
The installer is a text interface that asks one question per screen. These were the answers:
- Distribution sets rather than the newer package-based install, which is still a technology preview
- 32-bit libraries and the system source tree included; debug symbols, the ports tree and the test suite left out
- The Lenovo GPT boot workaround, which the installer offered on its own
- UFS instead of ZFS, since ZFS shines on storage machines and this laptop is mostly for browsing
- SSH, NTP,
powerdand crash dumps enabled, along with a few hardening options - My user added to
wheel,videoandoperator
After a reboot, I was greeted by a login prompt:
FreeBSD/amd64 (thinkpad-x220) (ttyv0)

login:
Adding a desktop
FreeBSD doesn’t come with a desktop, so you install one. Xfce is light enough for old hardware, and this set it up:
pkg bootstrap
pkg update
pkg upgrade

pkg install xorg xfce drm-kmod \
  lightdm lightdm-gtk-greeter \
  firefox mesa-dri

sysrc dbus_enable="YES"
sysrc lightdm_enable="YES"
sysrc kld_list+=i915kms

sysctl kern.evdev.rcpt_mask=6
echo 'kern.evdev.rcpt_mask=6' >> /etc/sysctl.conf

pw groupmod video -m janus
Some of it made sense to me. pkg is the package manager, sysrc enables services at boot by editing /etc/rc.conf, and i915kms is the Intel graphics driver. The evdev line, which is needed for keyboard and mouse input, I simply took on faith.
After another reboot, a login screen appeared, followed by Xfce: a full desktop on a 2011 ThinkPad. I then added the everyday tools: a power manager, a battery indicator, audio controls, mpv, vlc, htop, git and curl.
Wi-Fi that reconnects on its own
Wi-Fi worked during the install, but I wanted it to reconnect automatically after every reboot. The installer had already saved my network in /etc/wpa_supplicant.conf, so all that was left was adding two lines to /etc/rc.conf:
wlans_iwn0="wlan0"
ifconfig_wlan0="WPA DHCP"
Then I restarted networking and tested it:
service netif restart wlan0
service routing restart
ping -c 3 1.1.1.1
ping -c 3 freebsd.org
The main thing I took away from this step is that joining a Wi-Fi network, getting an IP address and having a working route out are three separate things. The first ping tests the route; the second tests DNS.
Can a 2011 GPU play YouTube?
This was the part I cared about most. The Intel HD 3000 can’t decode VP9 or AV1 in hardware, and those are the formats YouTube usually serves. To see what the GPU could handle, I installed a few diagnostic tools:
pkg install mesa-demos libva-utils libva-intel-driver
glxinfo -B
vainfo
glxinfo reported Accelerated: yes on the HD 3000. Had it said llvmpipe instead, the CPU would have been doing the graphics work in software. vainfo showed that the GPU can decode H.264.
The fix, then, was to make YouTube send H.264. A Firefox extension called Enhanced h264ify does exactly that. I set it to block VP8, VP9, AV1 and 60fps.
I played a video, opened Stats for nerds, and saw zero dropped frames.
Smooth playback doesn’t prove that Firefox is using the GPU to decode, but the video plays without stuttering, and that is all I wanted.
Sound
Getting sound in Firefox took one setting. In about:config, I set media.cubeb.backend to oss, FreeBSD’s native sound system, and restarted Firefox. Sound worked immediately.
Battery and sleep
Finally, I checked that it still works as a laptop:
acpiconf -i 0                        # battery
sysctl hw.acpi.supported_sleep_state # sleep states
service powerd status                # CPU power management
acpiconf -s 3                        # suspend
The battery holds about 62% of its original capacity, which is reasonable for its age, and suspend and resume both work.
Where it landed
The X220 now runs FreeBSD 15.1 with Xfce. Wi-Fi reconnects on its own, YouTube and LinkedIn Learning play smoothly with sound, and the laptop suspends and resumes properly. It isn’t fast, but it doesn’t need to be. I open it, browse, watch a course, use the terminal, and close it again.
I didn’t design any of this. But I typed every command, saw every result, and finished with a working FreeBSD laptop, which is more than I managed the first time.
I plan to keep using this X220 for life, and now it has an operating system I can keep learning on.
It started with a scanner
All of this began with a scanner that still worked perfectly well. The problem was its software, and that software was the only thing keeping an old Windows installation alive.
Instead of replacing the scanner, I wrote Janus Scan so it no longer needed Windows. That gave me back my favorite ThinkPad, and FreeBSD gave it a new life.
The scanner stayed. The ThinkPad stayed. Windows didn’t.
References: FreeBSD Handbook · Janus Scan on GitHub